Im Einsatz in der Schweiz & Europa
EN · FR · DE

Services · HYPERVISUAL Switzerland

Digital Signage installation, by our own crew.

From your plans to the first picture on screen: one team, and no separate installer to coordinate. Across Switzerland and Europe.

Six stages, one team.

From the first message to the maintenance, a project goes through six stages. Installation is the fourth: the one this page explains.

  1. 01Your projectThe place, the screens, the date that matters.
  2. 02A written offerWe visit the site if necessary, and we come back with a written offer.
  3. 03The orderA signed quote, the required deposit and complete technical specifications.
  4. 04This pageDelivery and installationDelivery times are indicative. Our own crew installs on your dates.
  5. 05HandoverSources tested, your team shown the controls.
  6. 06Warranty and maintenanceFor what we supplied and installed.

Quotes are valid for 30 days; delivery times are indicative only.

Terms of sale

An installation, move by move.

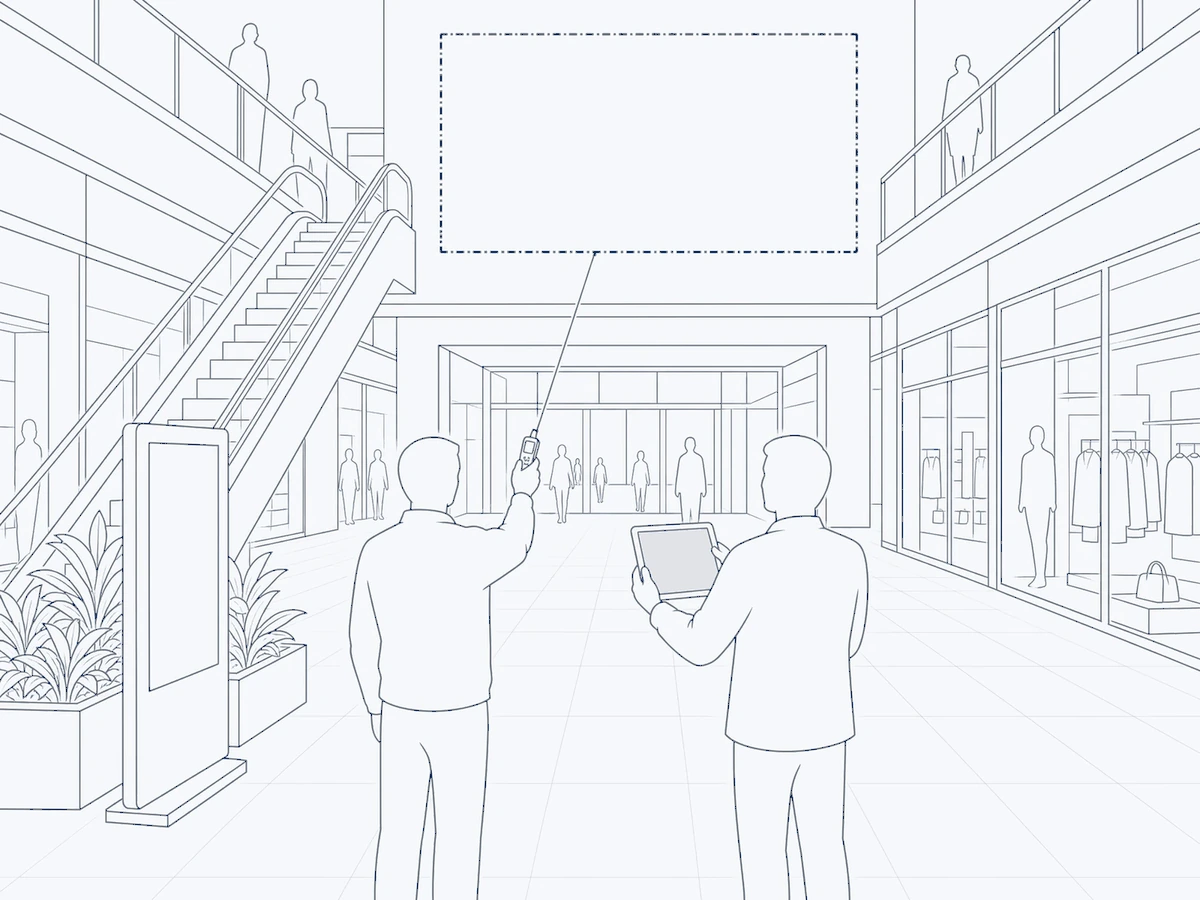
From the survey to the day your team takes over: six moves, one crew. Each drawing lights up when its move comes.

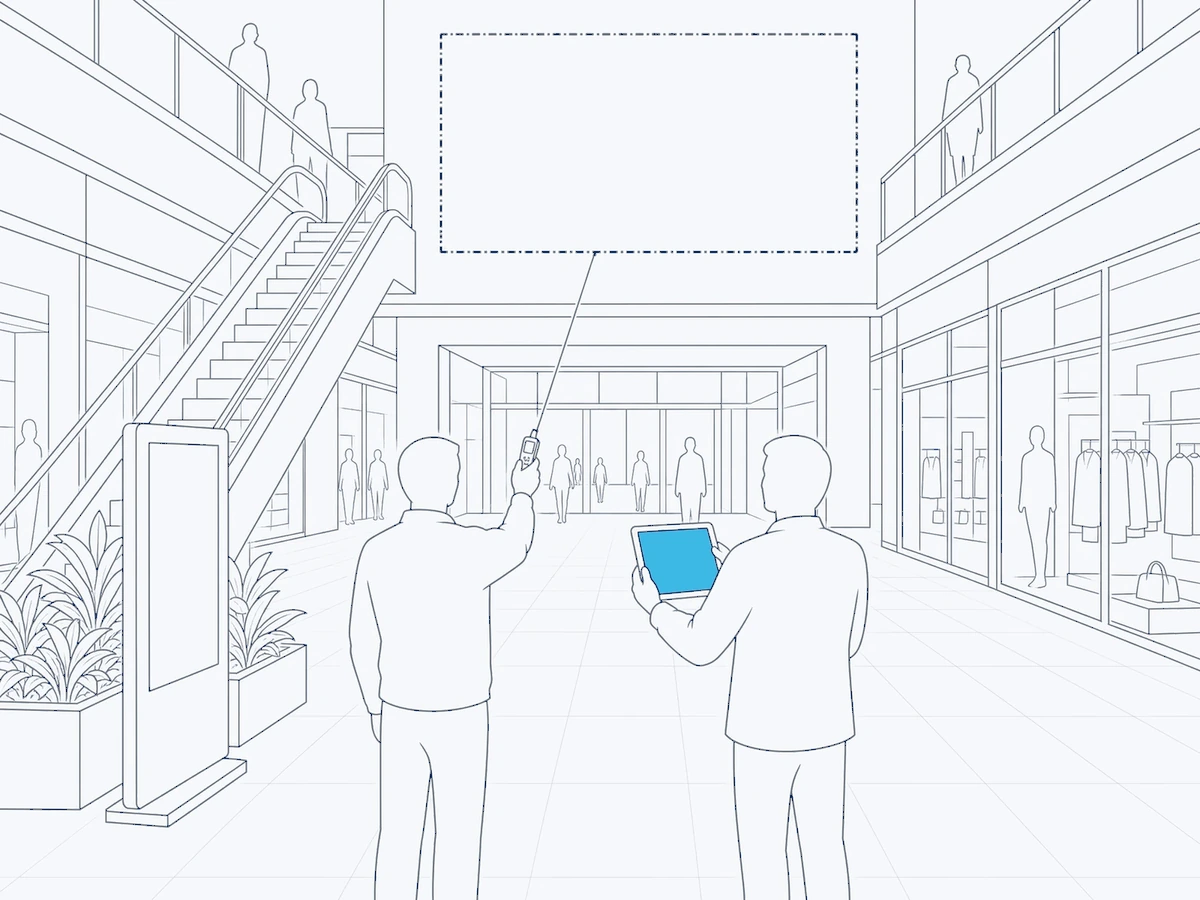
Line drawing: in a shopping-centre atrium, the future screen outlined in dashes above a shop entrance; a technician measures it with a laser meter while the client holds a tablet
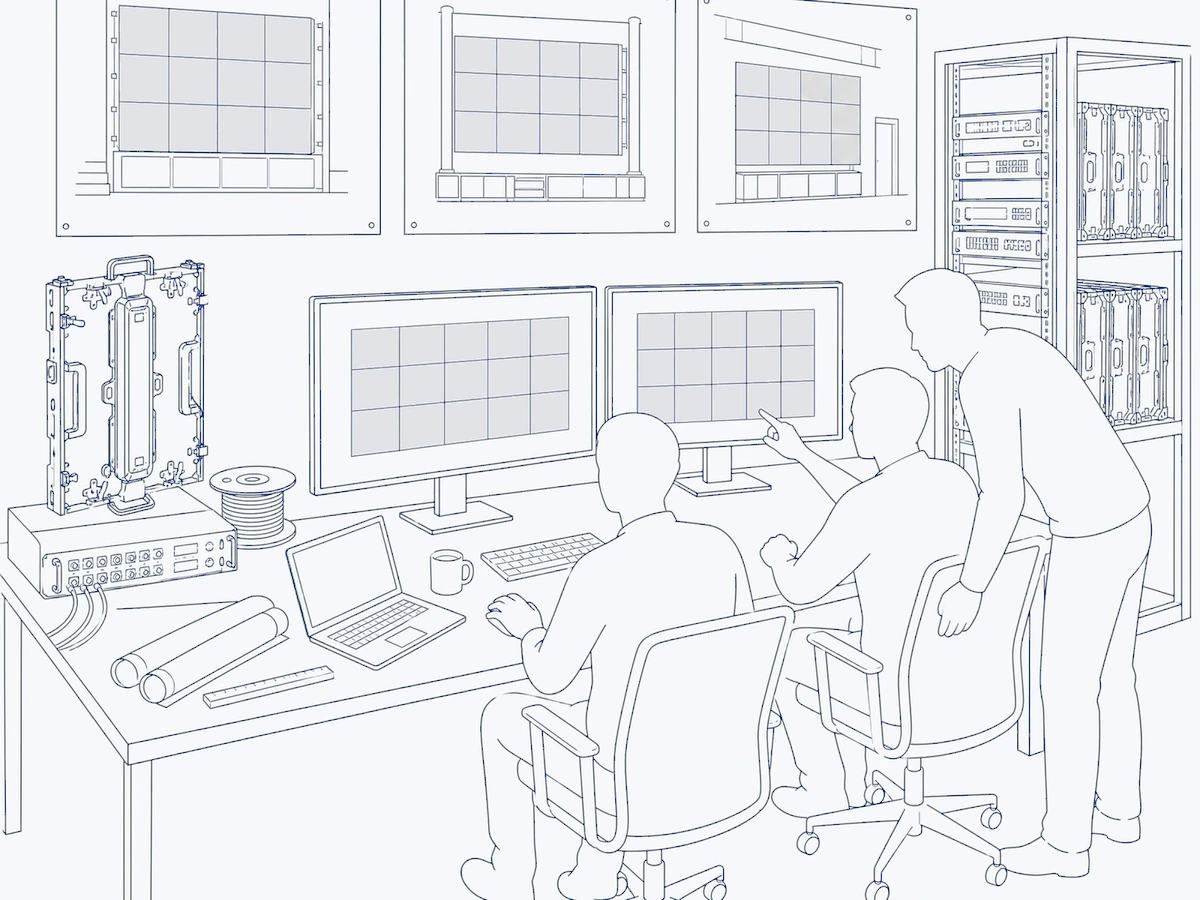
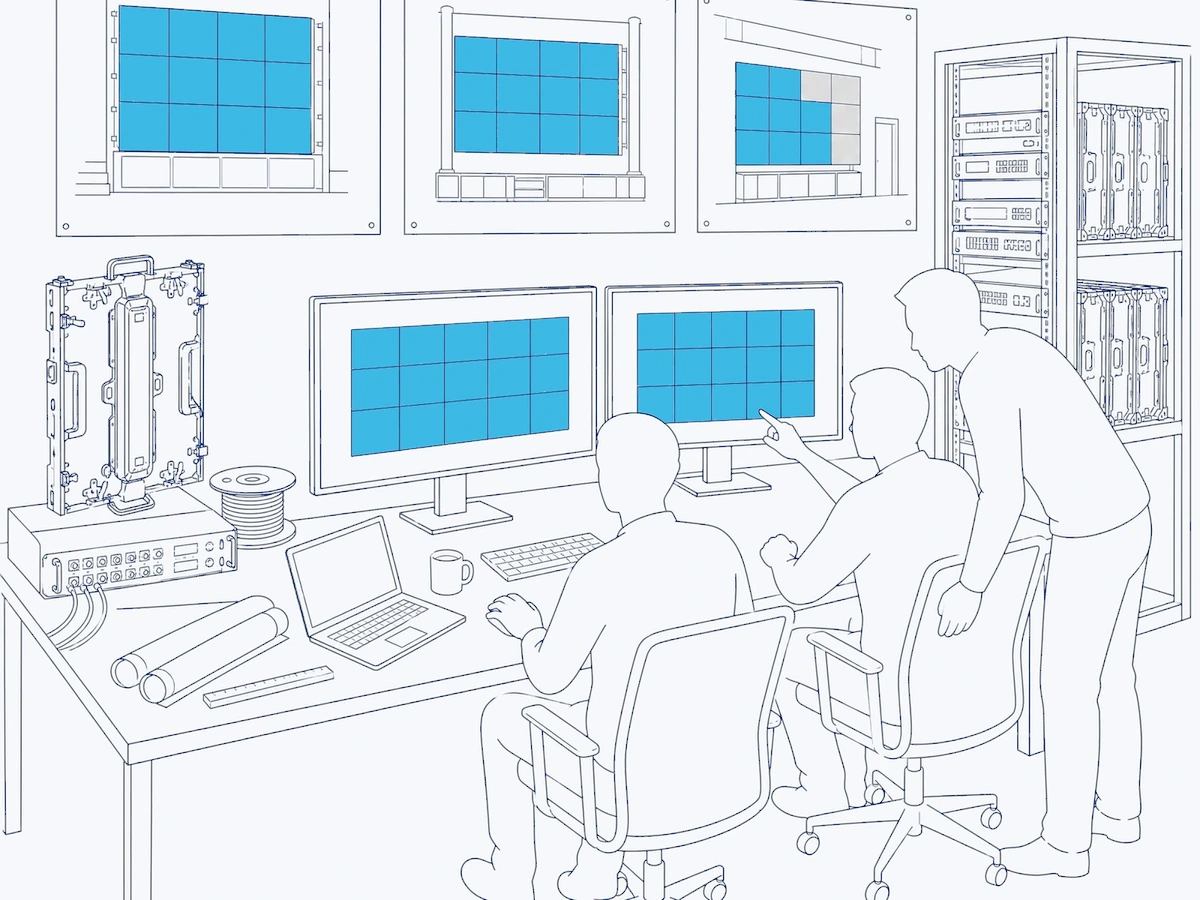
Line drawing: two people at their desks with the panel layout of an LED screen on their monitors, printed elevations on the wall, an equipment rack behind them
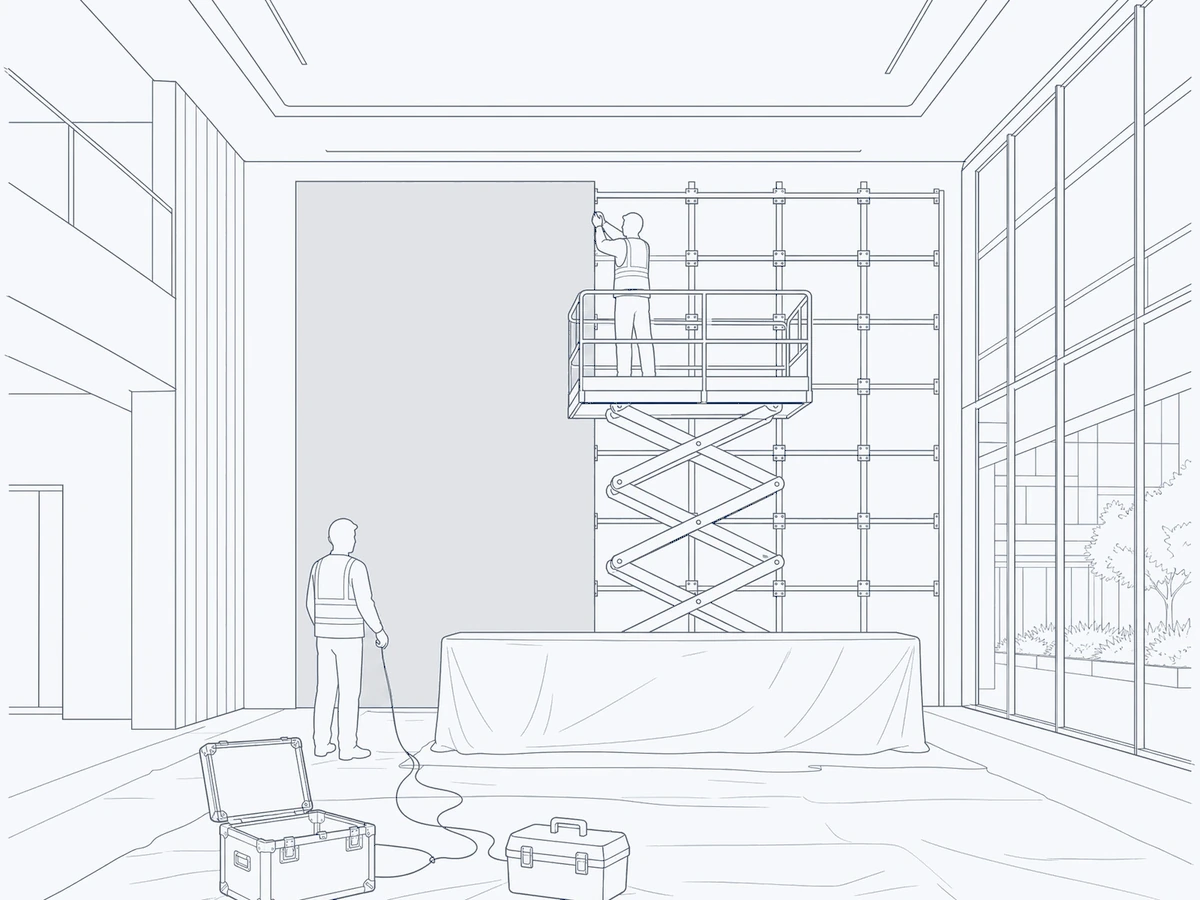
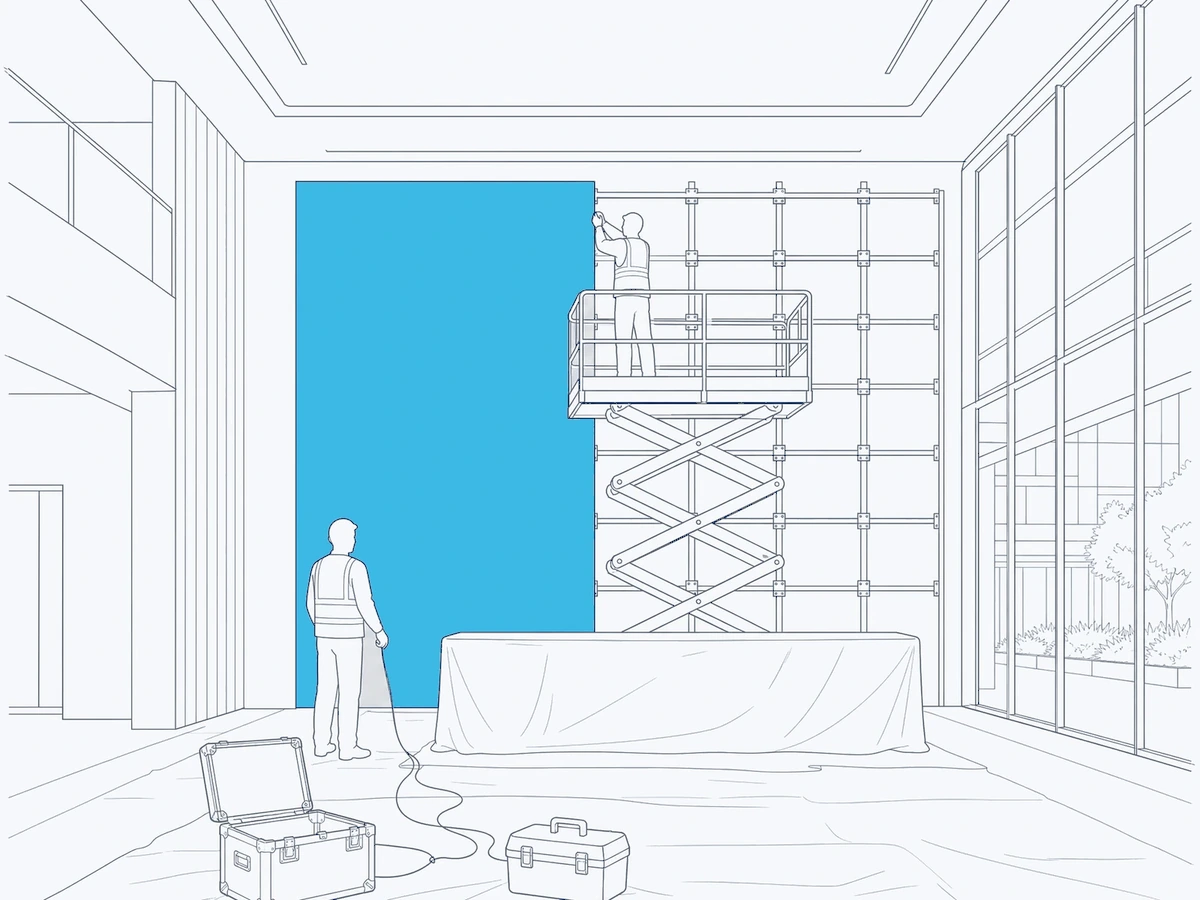
Line drawing: a reception hall as a work site, a technician on a scissor lift fixing the panels, half the screen already covered, flight cases on the floor
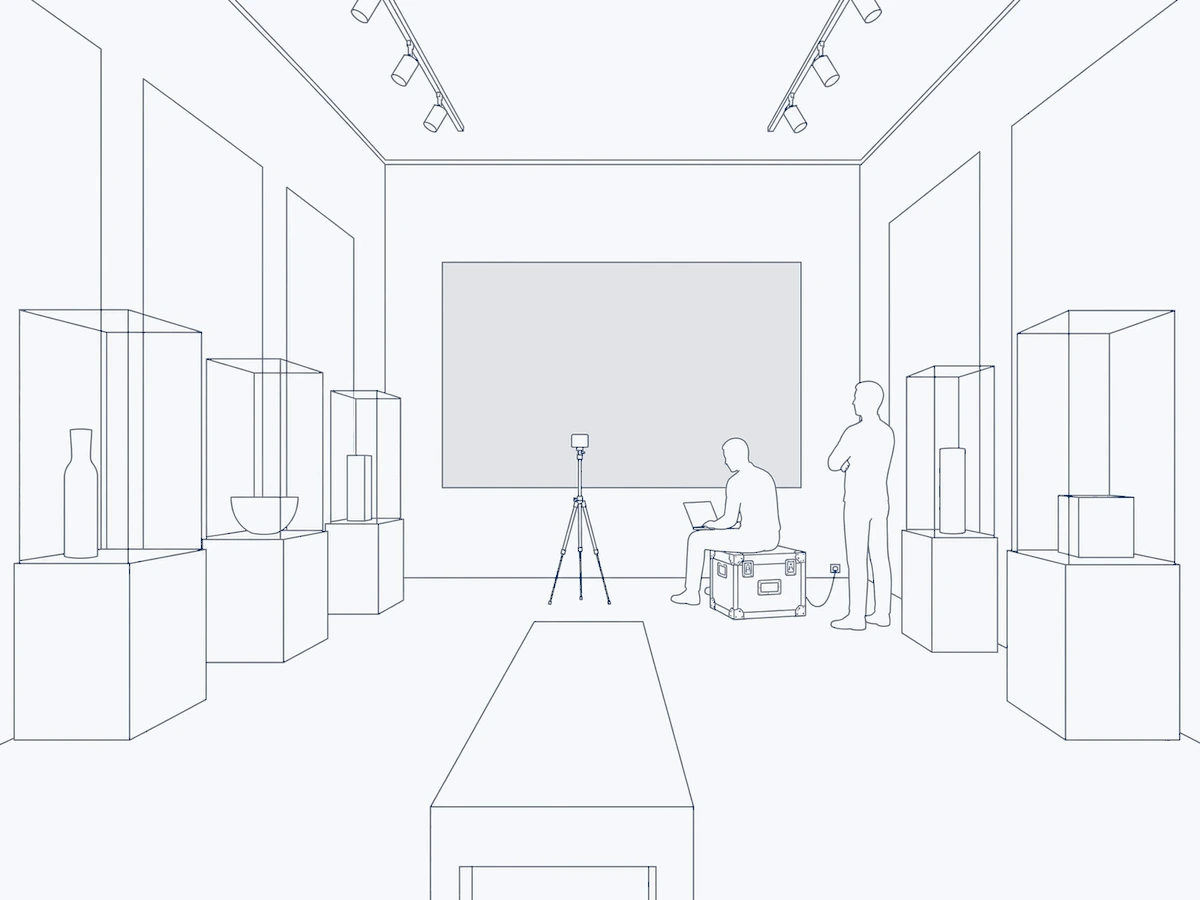
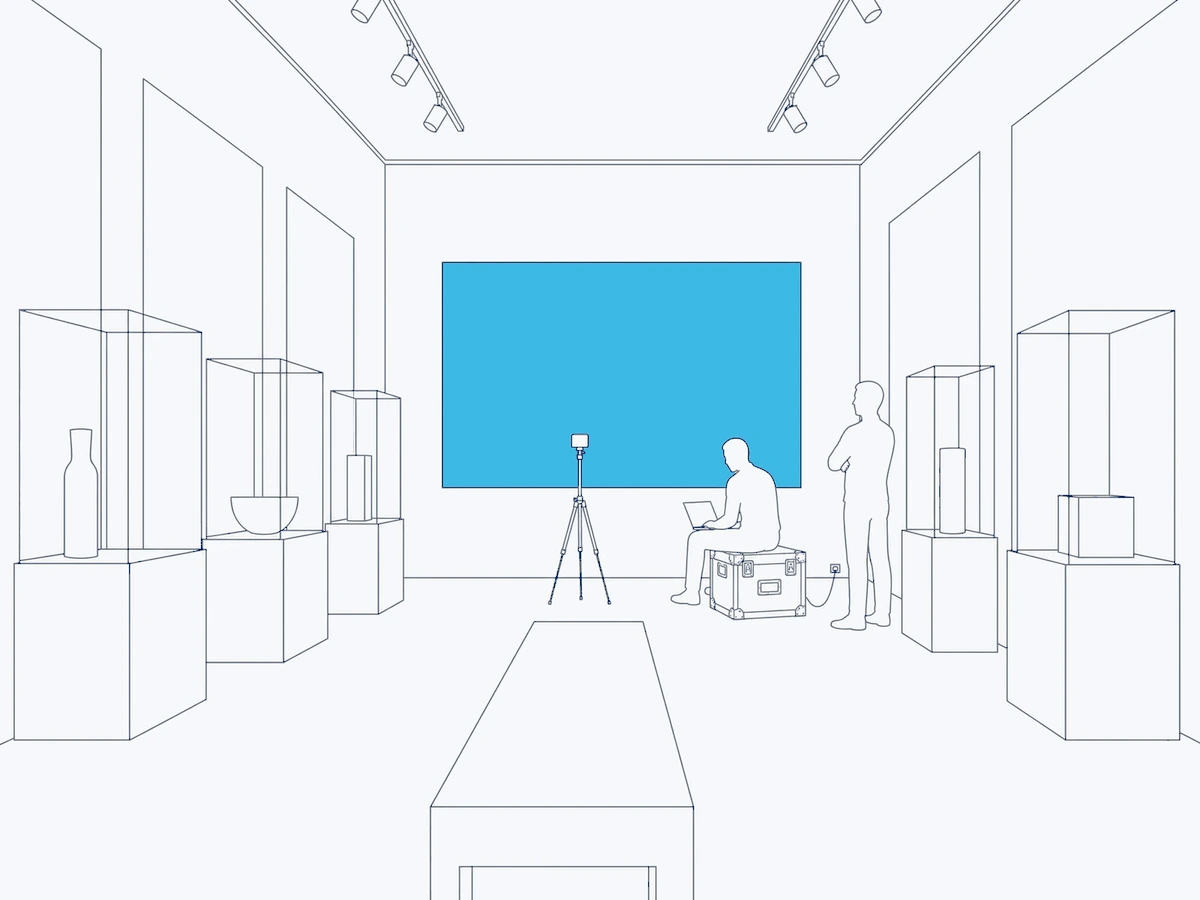
Line drawing: a gallery in the evening, the screen lit on the back wall, a technician on a flight case with a laptop and a colour probe on a tripod
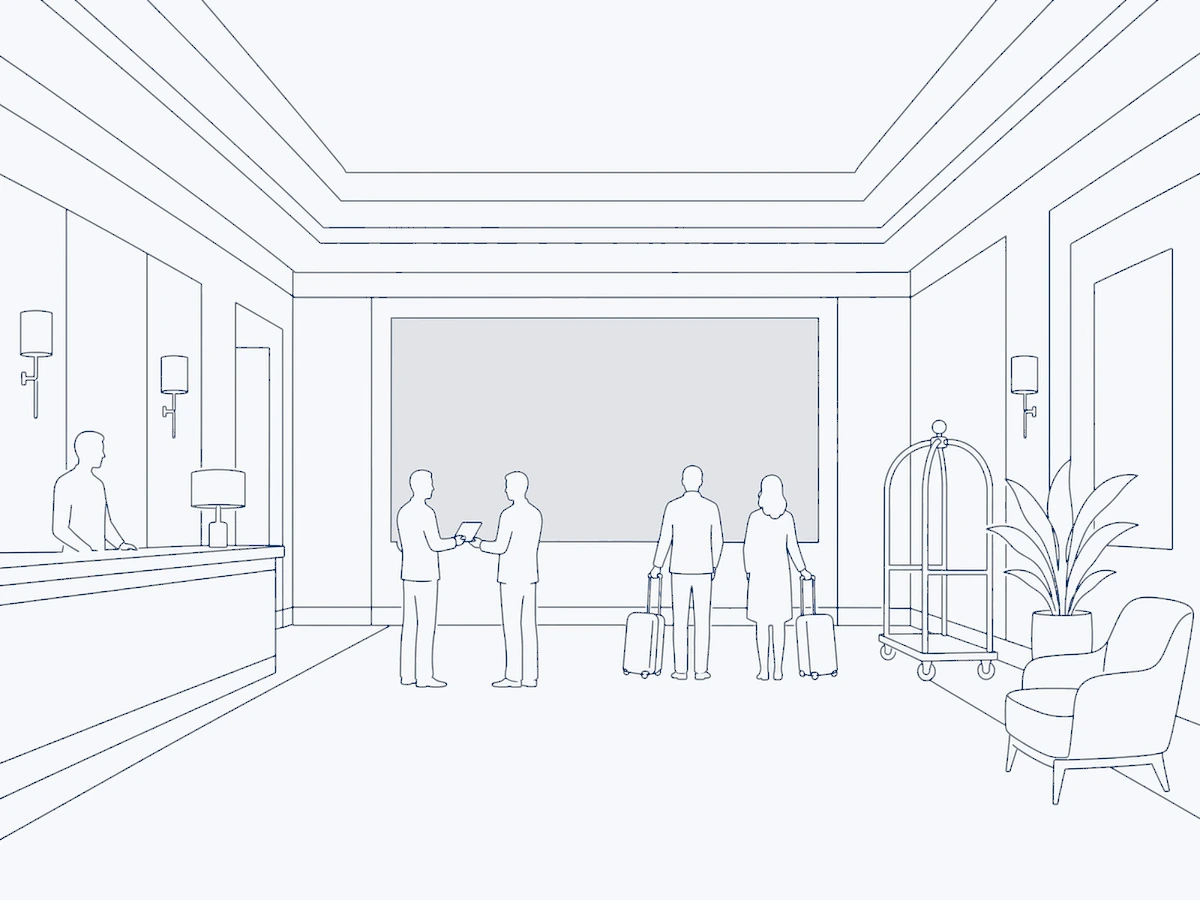
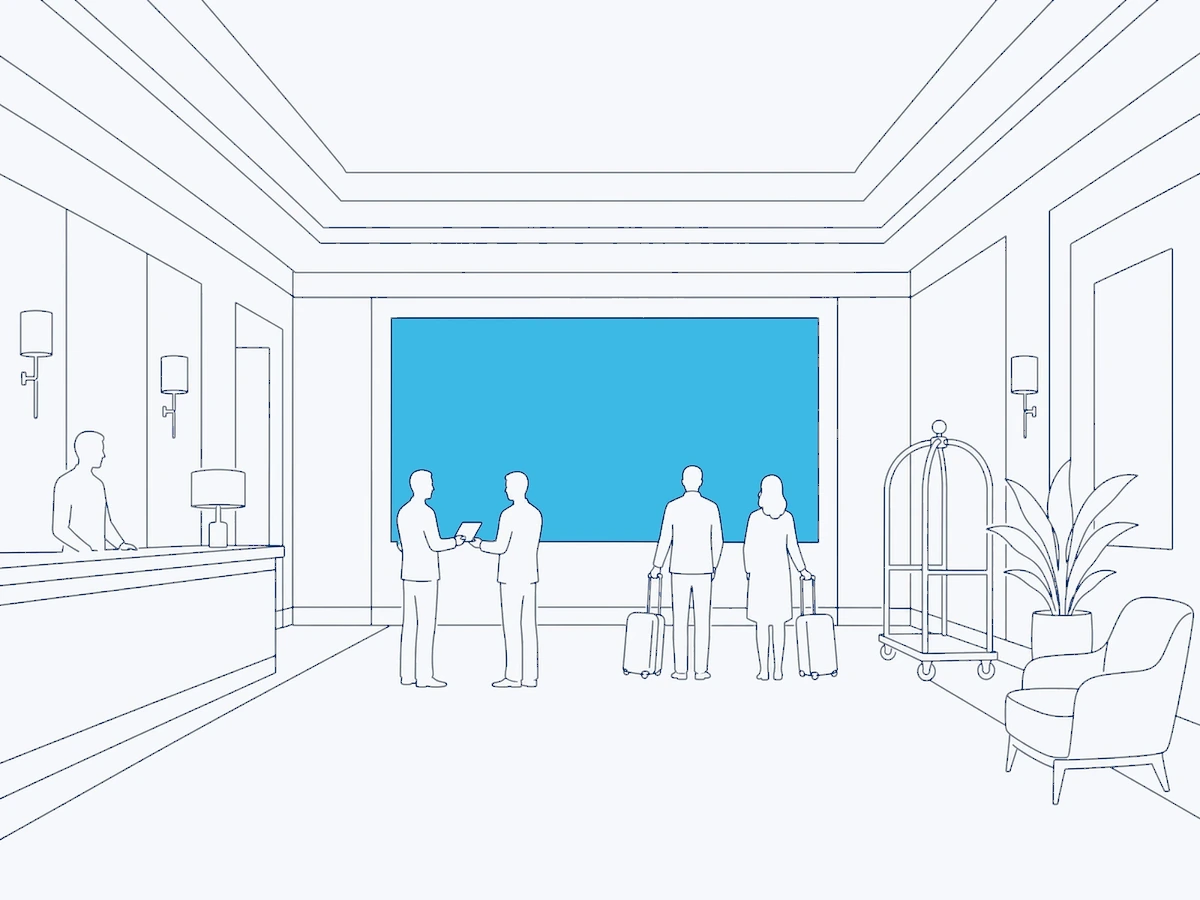
Line drawing: a hotel lobby, the screen lit on the back wall, a technician handing the control tablet to the client
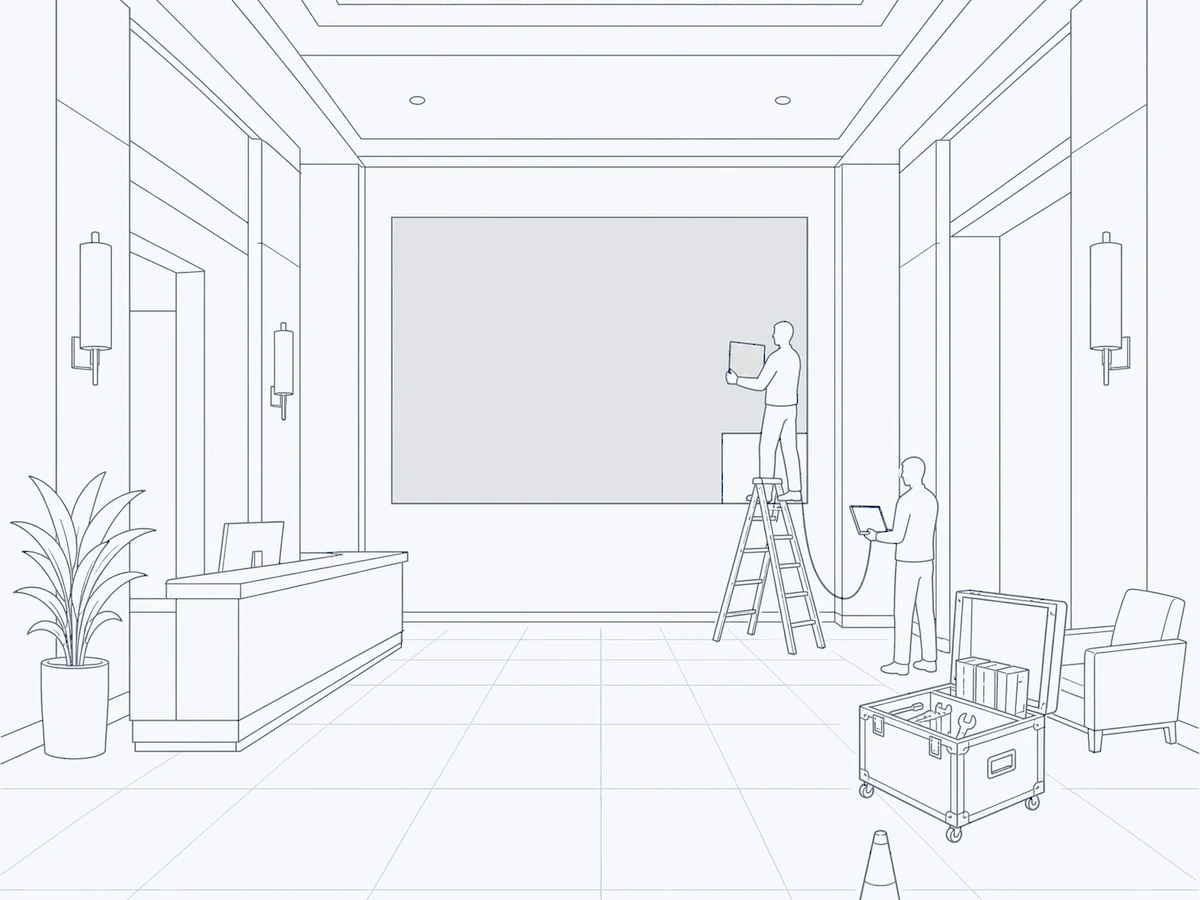
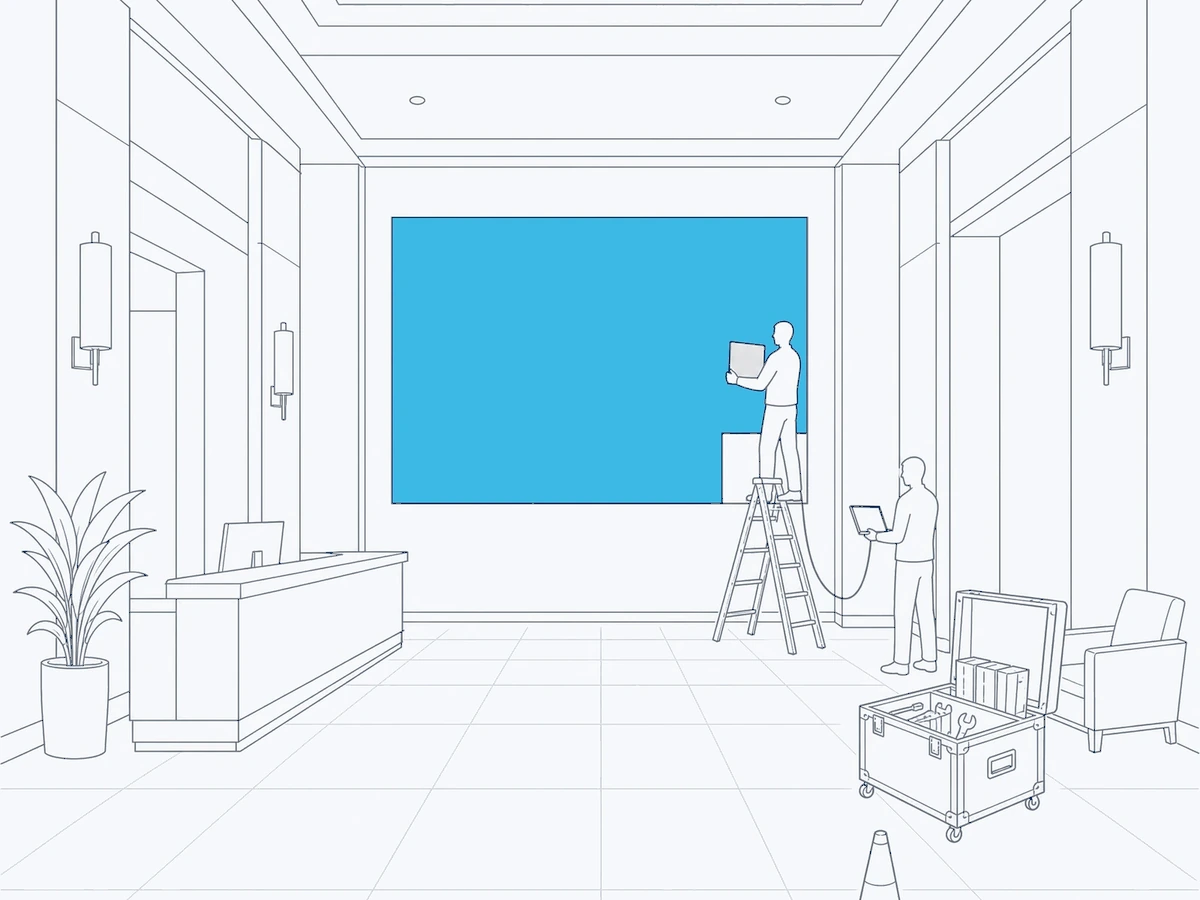
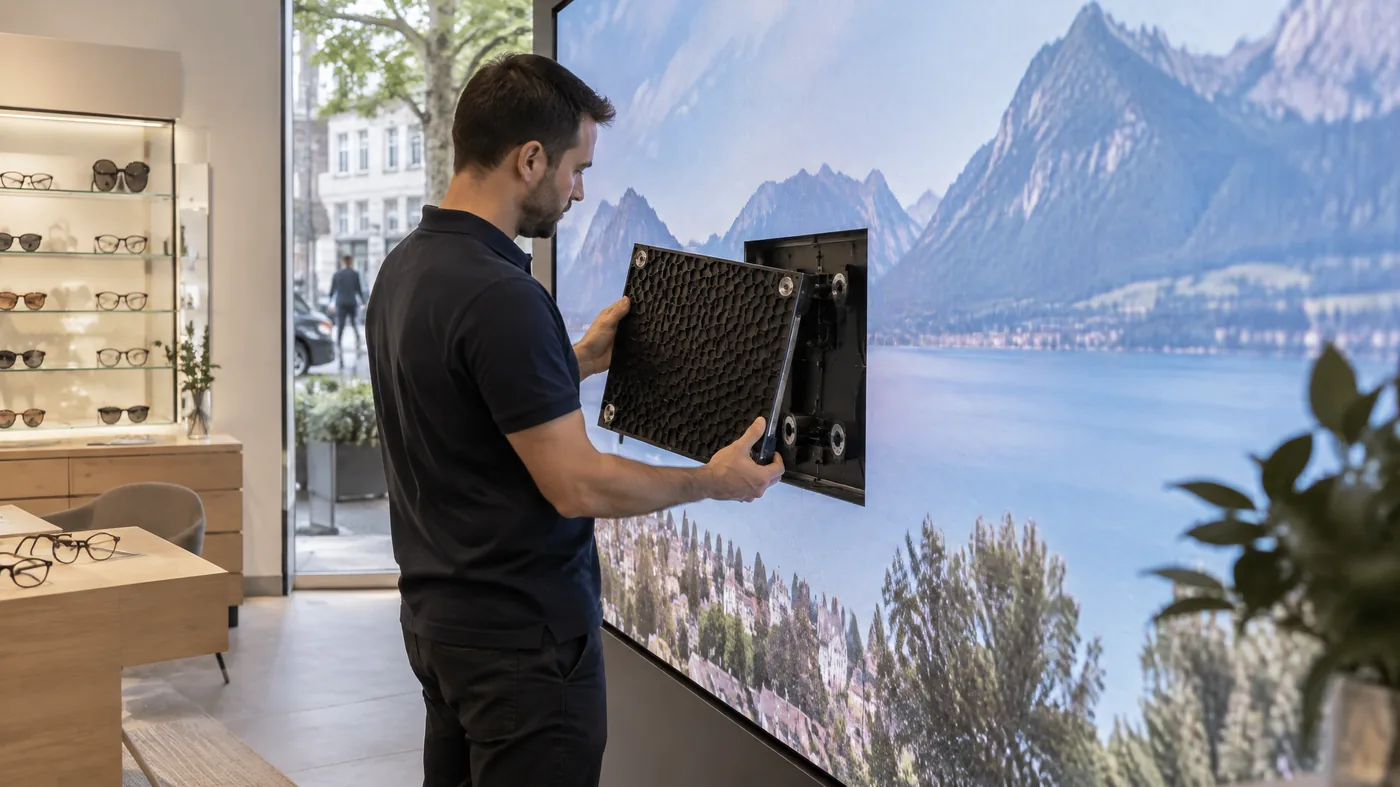
Line drawing: the lobby again, one panel taken out of the screen by a technician on a stepladder, a colleague with a laptop, an open flight case
  1. 01

    Survey

    Your plans first, then the site if necessary.

    • Sightlines
    • Structure
    • Power
    • Light
  2. 02

    Drawings

    With your architect, the screens go on the plans: the recess in the wall, the power outlets, the cable routes.

    • Panel layout
    • Fixings
    • Cable routes
  3. 03

    Fitting

    Our own crew, our own tools, on your dates: structure set, panels hung one by one, aligned flush.

    • Structure
    • Panels
    • Lifting
  4. 04

    Calibration

    Every panel addressed, colour and brightness set for the place, seams checked.

    • Addressing
    • Colour
    • Brightness
  5. 05

    Handover

    Sources tested, your team shown the controls. Your own sources, or DATAVSN.

    • Sources tested
    • Controls
    • DATAVSN, if chosen
  6. 06

    Care

    Spare panels held, and the same crew that installed the screens.

    • Spare panels
    • Same crew
    Maintenance

On your plans, before the works.

With your architect, the screens are drawn early: the recess in the wall, the power, the air and the access for service. Your contractor then builds to our drawings.

  1. 1The screen, to scaleIts width, height and depth on your elevations.
  2. 2The recessThe reserve in the wall, built by your contractor to our drawings.
  3. 3Power and networkA dedicated power supply and a network point at each screen.
  4. 4Air and heatThe air path a recessed screen needs; the heat load written into the offer.
  5. 5Service accessFrom the front or the back: how each panel comes out.
  6. 6The loadWhat the wall or the slab can carry, checked on your plans.

Outdoors: the façade or the foundation, and the permit your commune may require.

Technical drawing of a recessed LED screen: elevation and section, with the recess, the power and network points, the air path, the service access and the loadElevationSectionWHDFrontBackWall123456

Who does what.

Written into the offer before anything starts: what our crew brings, what your side prepares, and what we settle together.

Who does what, before, during and after the works
01Before the works02The works03The handover
Our crewHYPERVISUAL
  • Survey
  • Drawings
  • Frame, panels, signal chain
  • Installation and lifting
  • Calibration
  • Commissioning
Your sideYou or your contractor
  • Your plans
  • Recess, joinery or cladding, to our drawings
  • A dedicated power supply and a network point
  • Outdoors: façade or foundation works, the permit
  • Access to the site on the day
TogetherSettled with you
  • The technical check, on site if necessary
  • The schedule around your fit-out
  • The content that goes on the screens

The frame, then the colours.

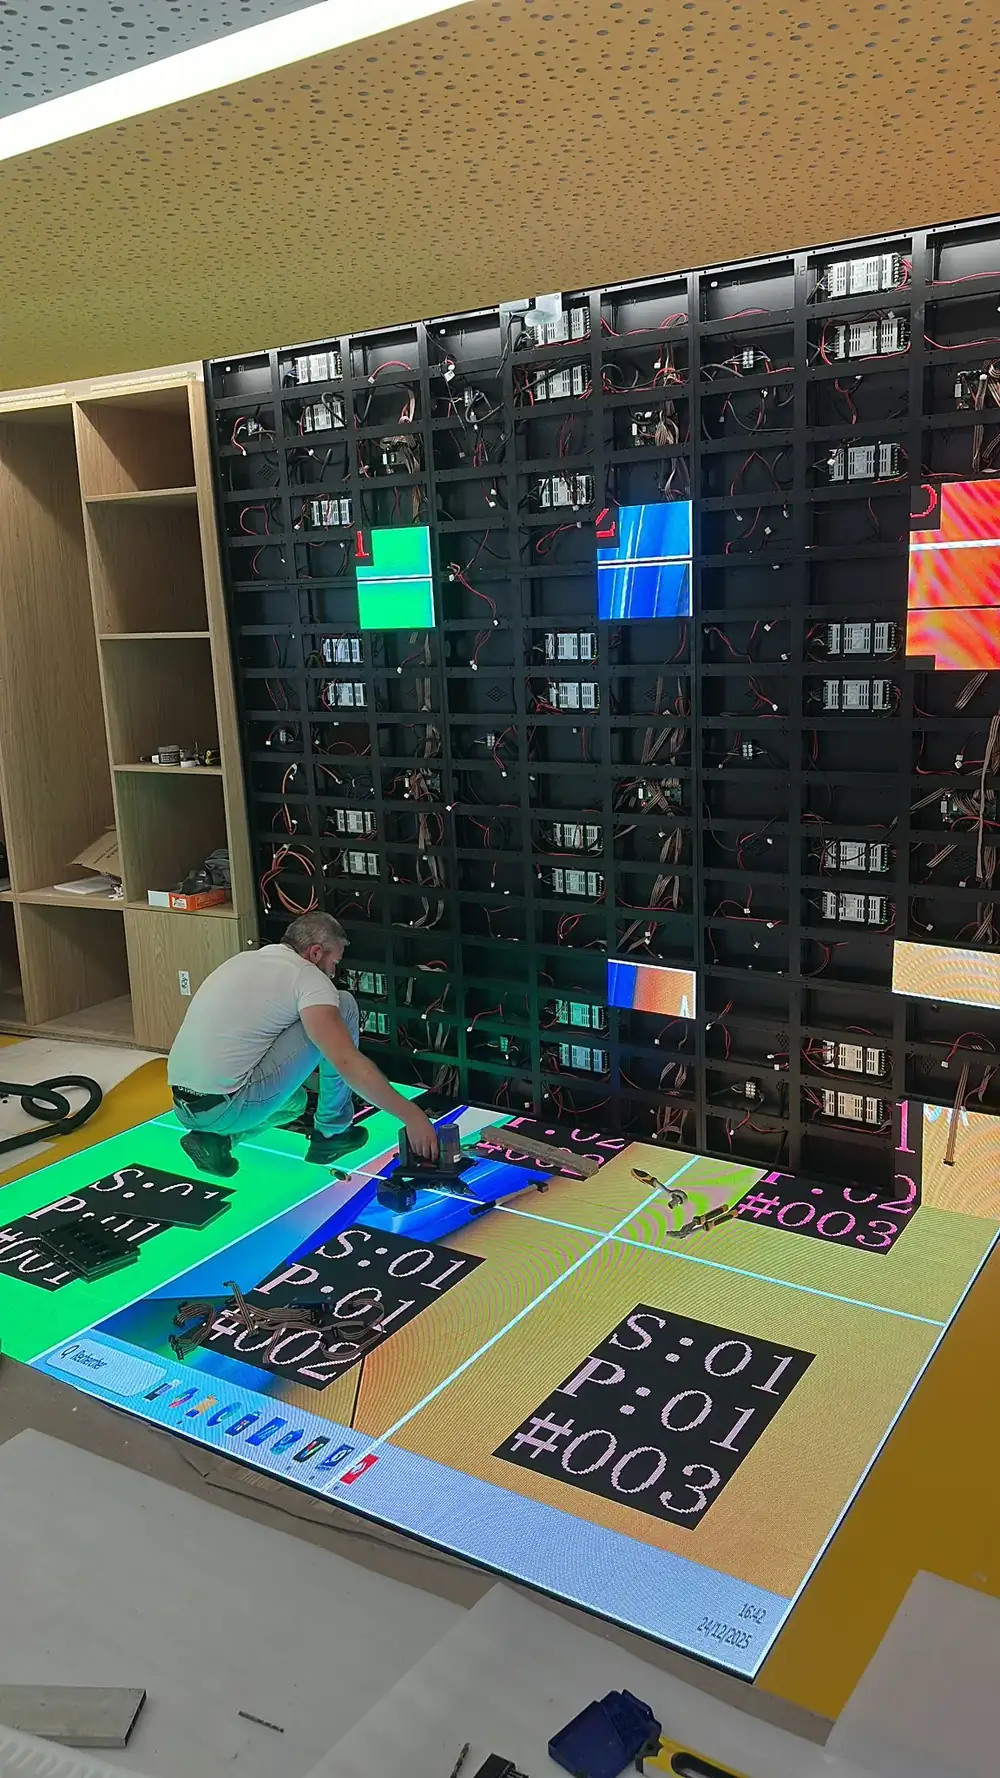
Photos from our sites: what an installation looks like before the picture comes on.

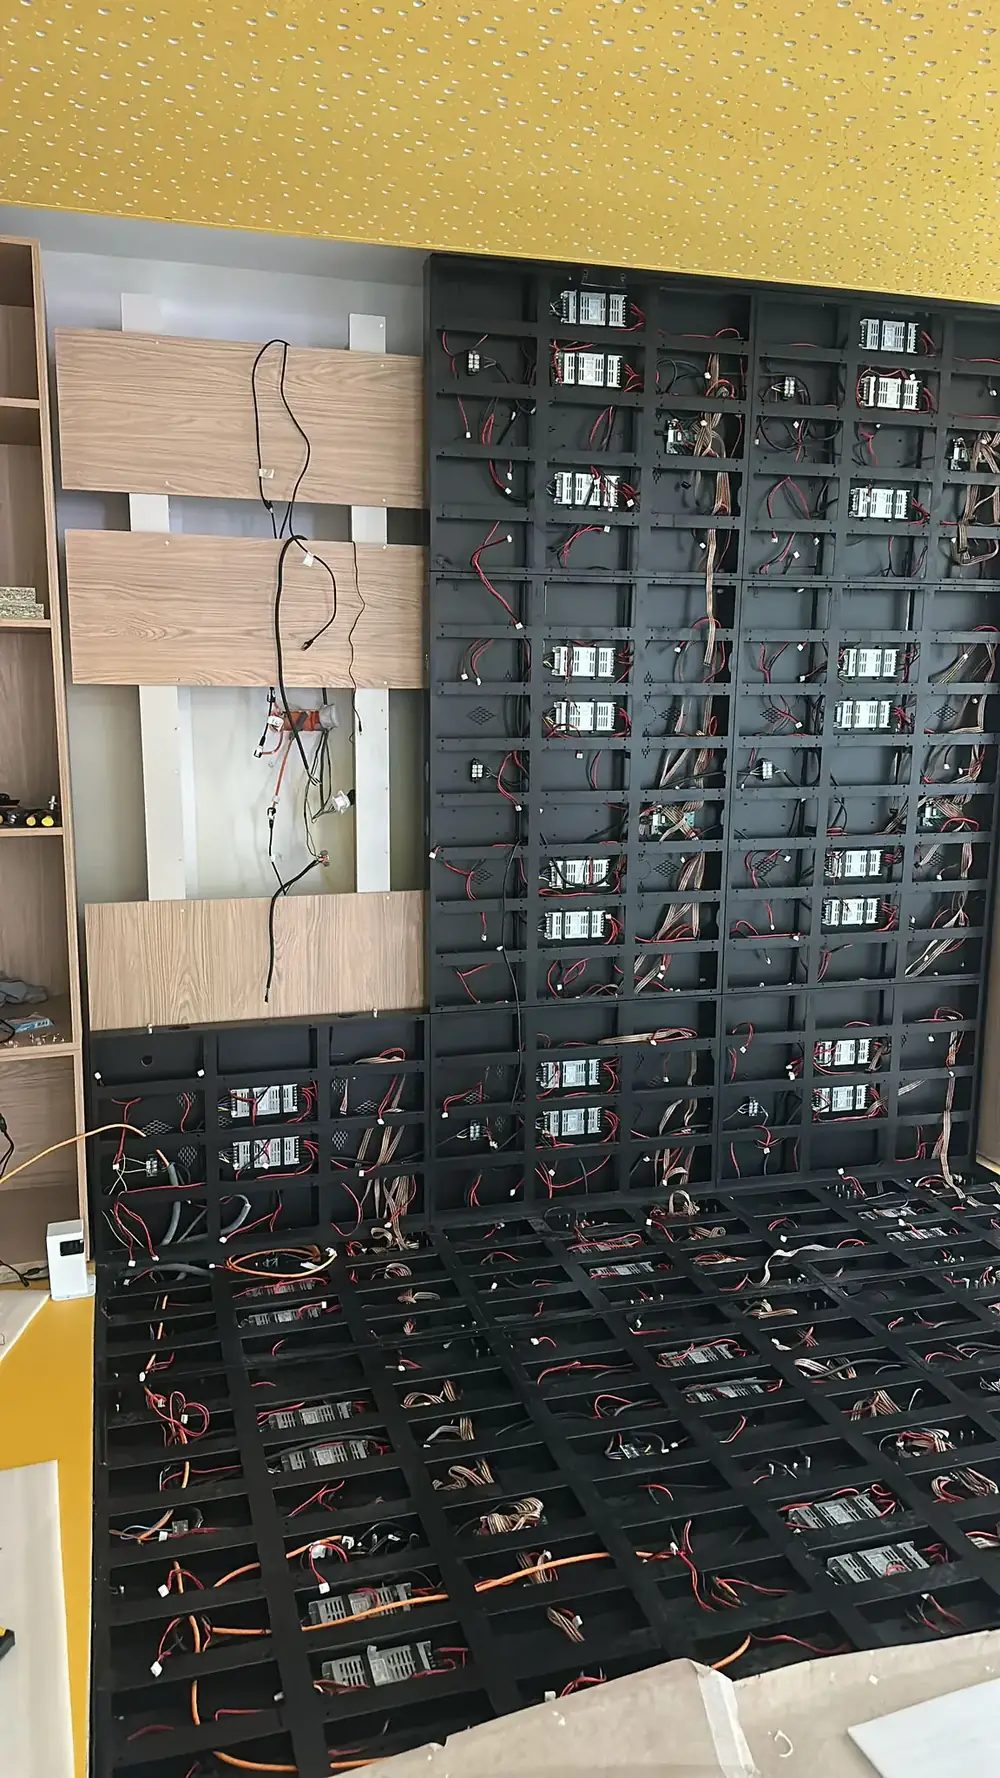
  1. LED screen frame fixed to a shop wall under a yellow ceiling, cables coming out of the wall beside oak panels

    01The frame on the wall, the cables out, the joinery beside it.

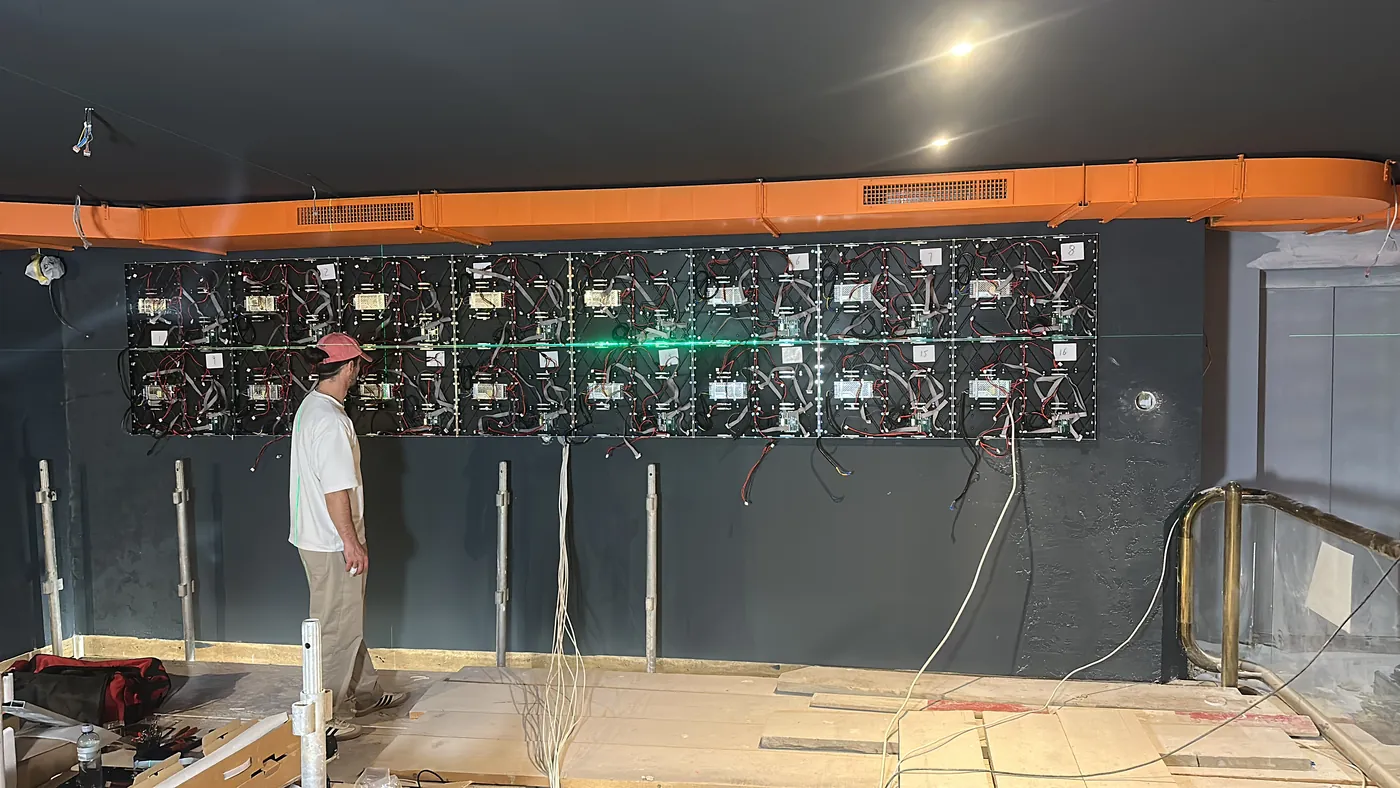
  2. A technician in a shop checking a row of LED cabinets fixed to the back wall along a green laser line

    02Set to the laser line, before the modules go on.

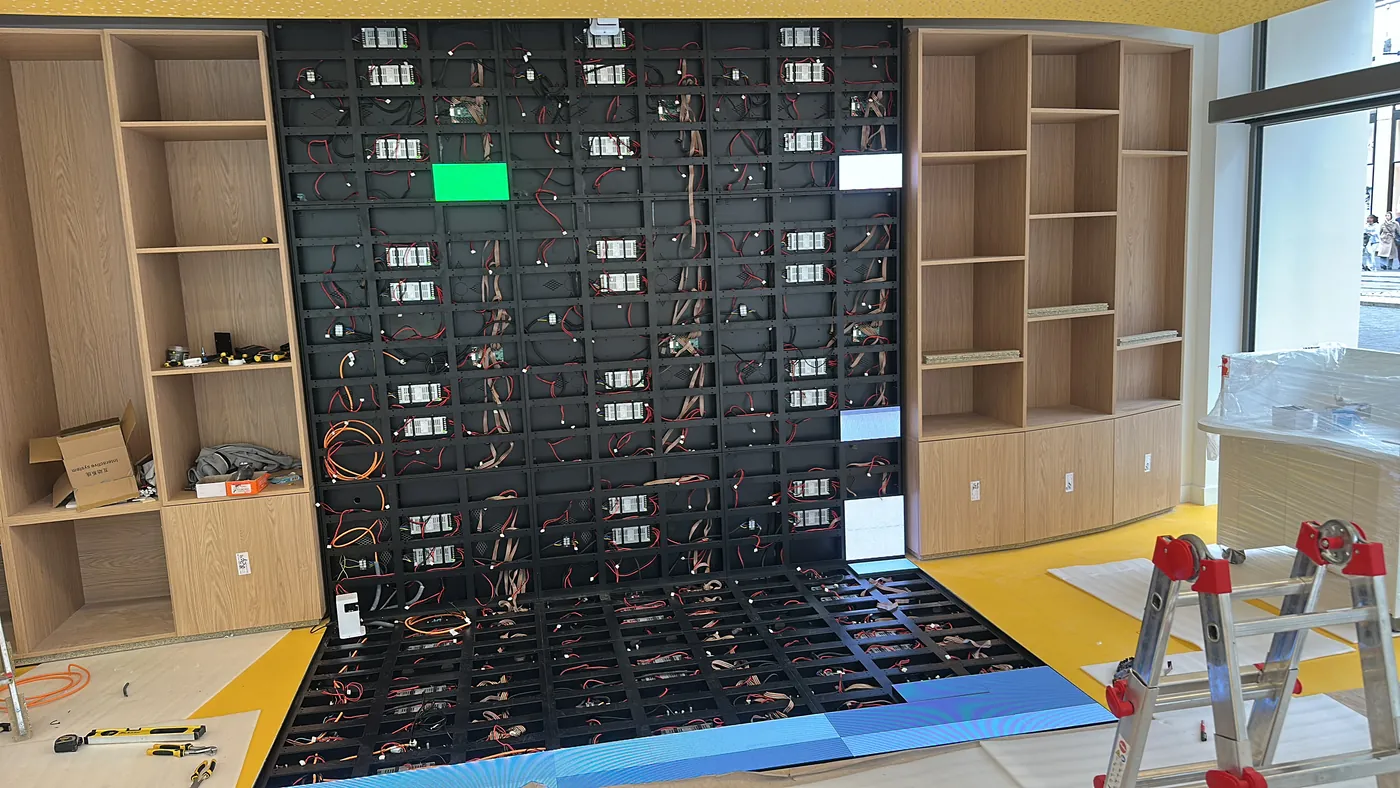
  3. Front of an LED screen during assembly between two oak bookcases, the frame and its cabling visible, a stepladder on the right

    03Flush with the joinery: the frame fills the wall between the shelves.

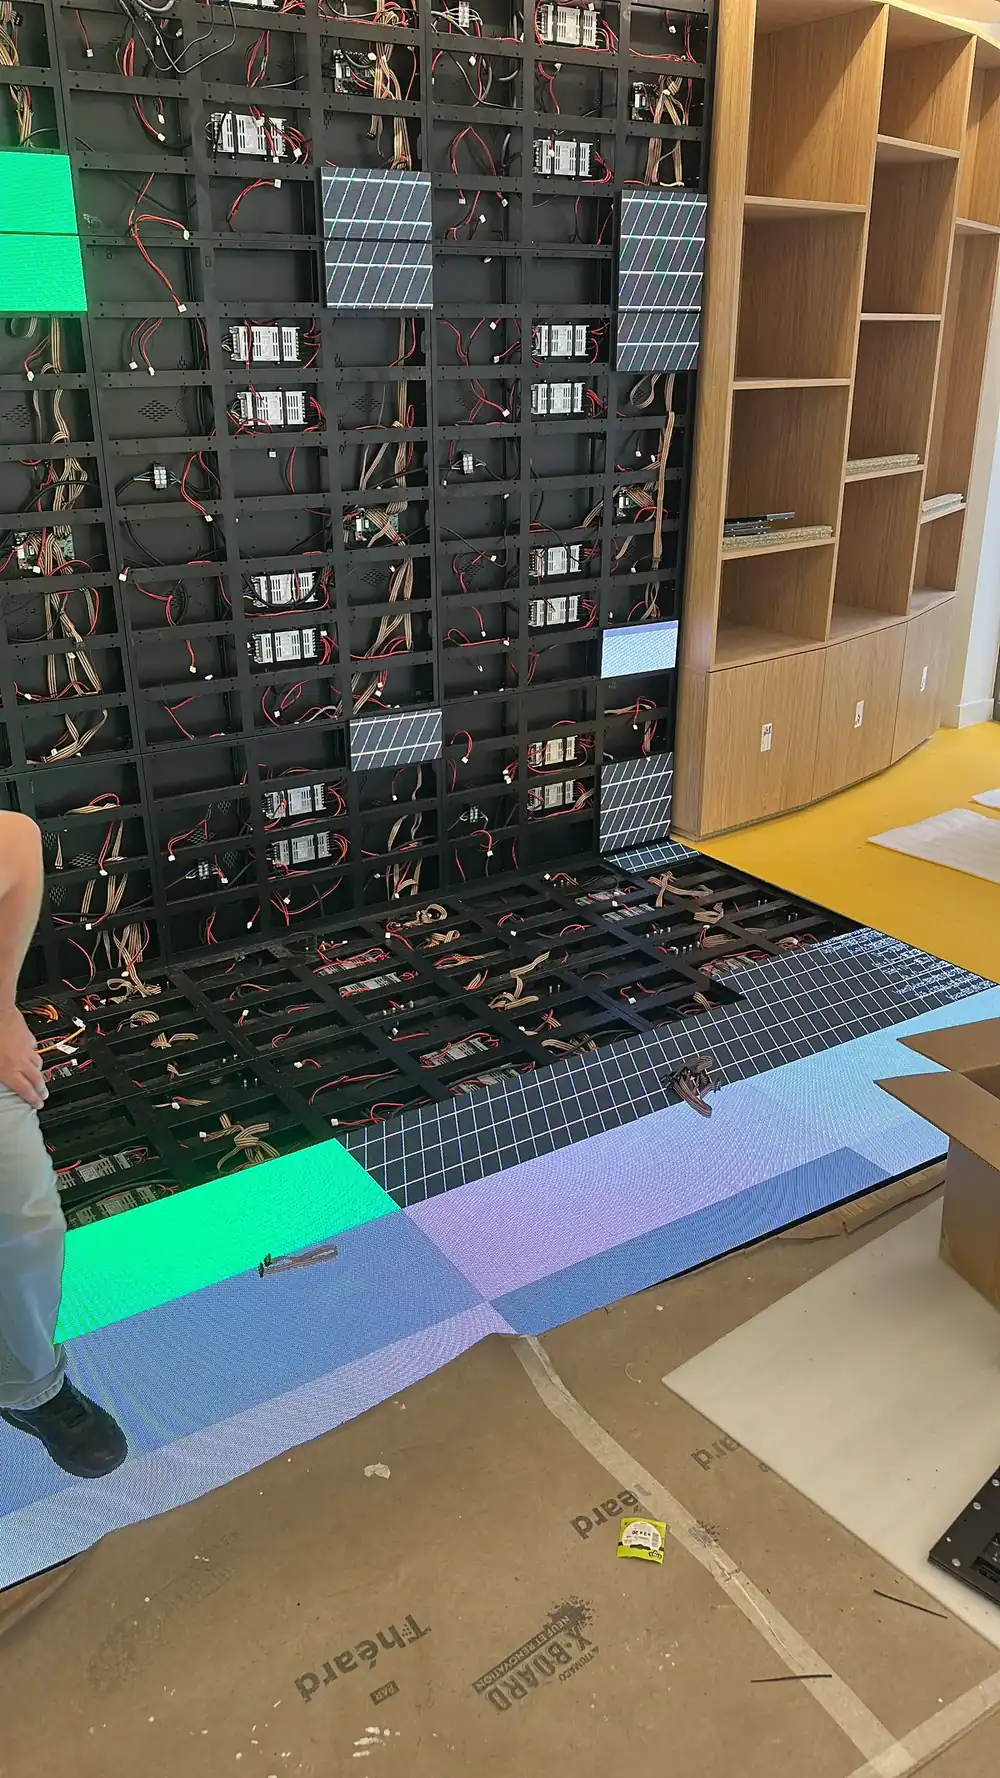
  4. Close view of an LED screen frame during assembly: cards and cables on each panel, a few modules already fitted, oak shelves on the right

    04Behind the modules: every panel cabled.

  5. LED screen under construction below a yellow ceiling, modules lit in green, blue and red while the panels are addressed

    05Every panel addressed: the first modules light up.

Each screen, its own fitting.

How our crew installs each technology we supply, as its product page describes it.

Line drawing: indoor led in place

How it is fitted

Indoor LED

Panels hung one by one, aligned flush.

See the product

Handed over, then looked after.

  • Calibrated for the place

    Colour and brightness set where the screen lives.

  • Your sources, or DATAVSN

    Tested on the screens, with your content.

  • Your team at the controls

    Shown how to run the screens.

  • Warranted

    90 days on our work, 24 months on the hardware, 12 months on the software.

Your questions.
Answered straight.

Anything specific to your site is settled on your plans, or on site if necessary.

Who installs the screens?

Our own crew: the team that surveys the site and draws the installation also fits the screens, calibrates them and hands them over. One company covers the survey, the hardware, the installation, the software and the support, so there is no separate installer to coordinate.

Can the screens be built into our walls or furniture?

Yes. Your joiner or contractor builds the recess, the cladding or the furniture to our drawings, with the clearance a screen needs for ventilation. Our crew then fits the screen, connects it and checks it with your content.

What do we prepare on our side?

A dedicated power supply and a network point at each screen, the joinery around it, and access to the site on the day. Outdoors, the foundation or façade works and the permit your commune may require. All of it is written down before the offer.

Do you work with our architect?

Yes. The screens go on the plans early, with the recess in the wall, the power outlets, the air path and the access for service, and your contractor builds to our drawings.

When does the crew work on site?

On dates agreed with you: around your fit-out or your works, and outside opening hours when a store needs it. Delivery times for the hardware are indicative only, as our terms of sale state.

Does a screen on a façade need a permit?

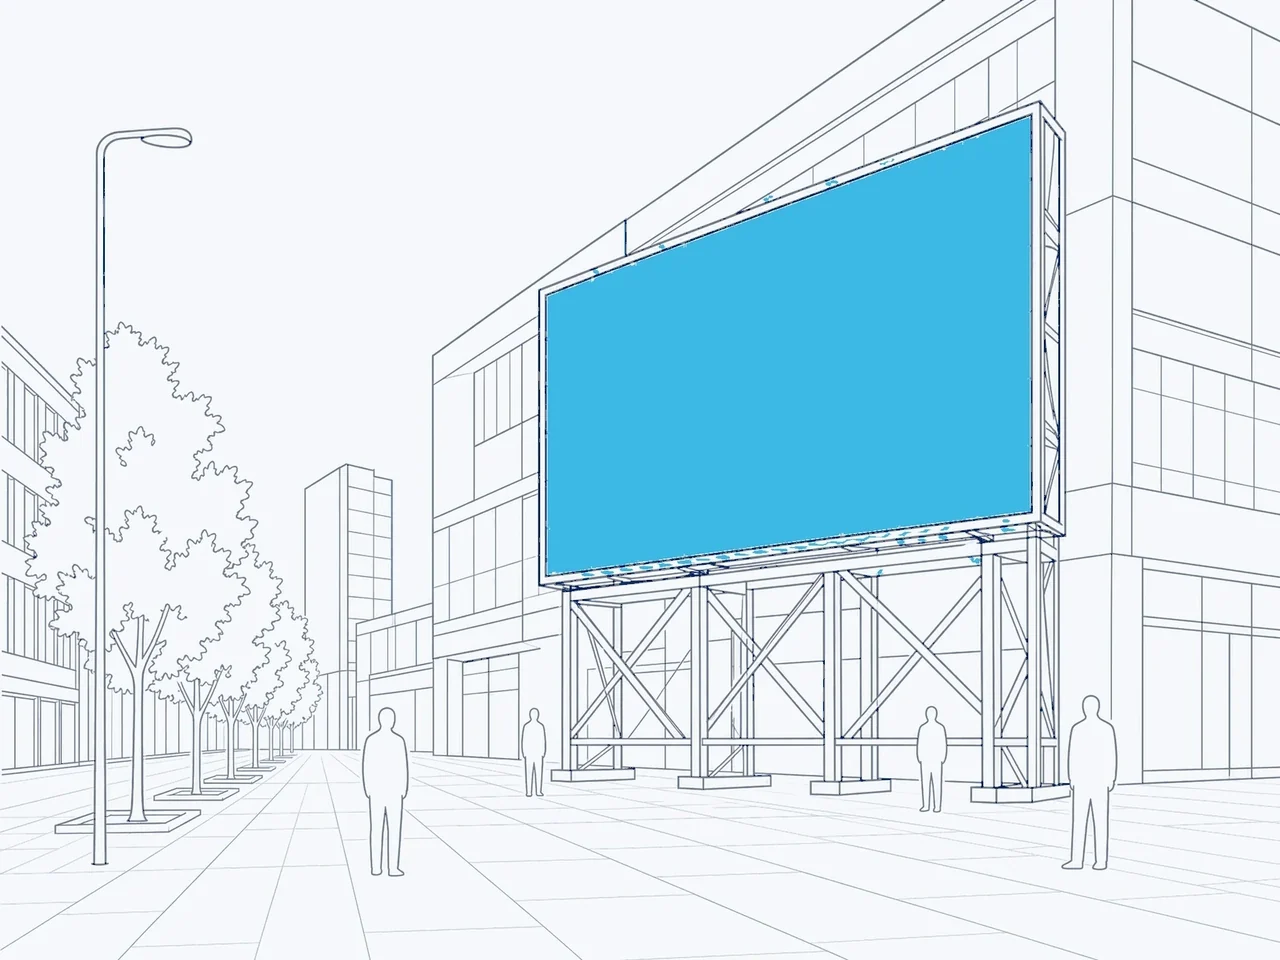
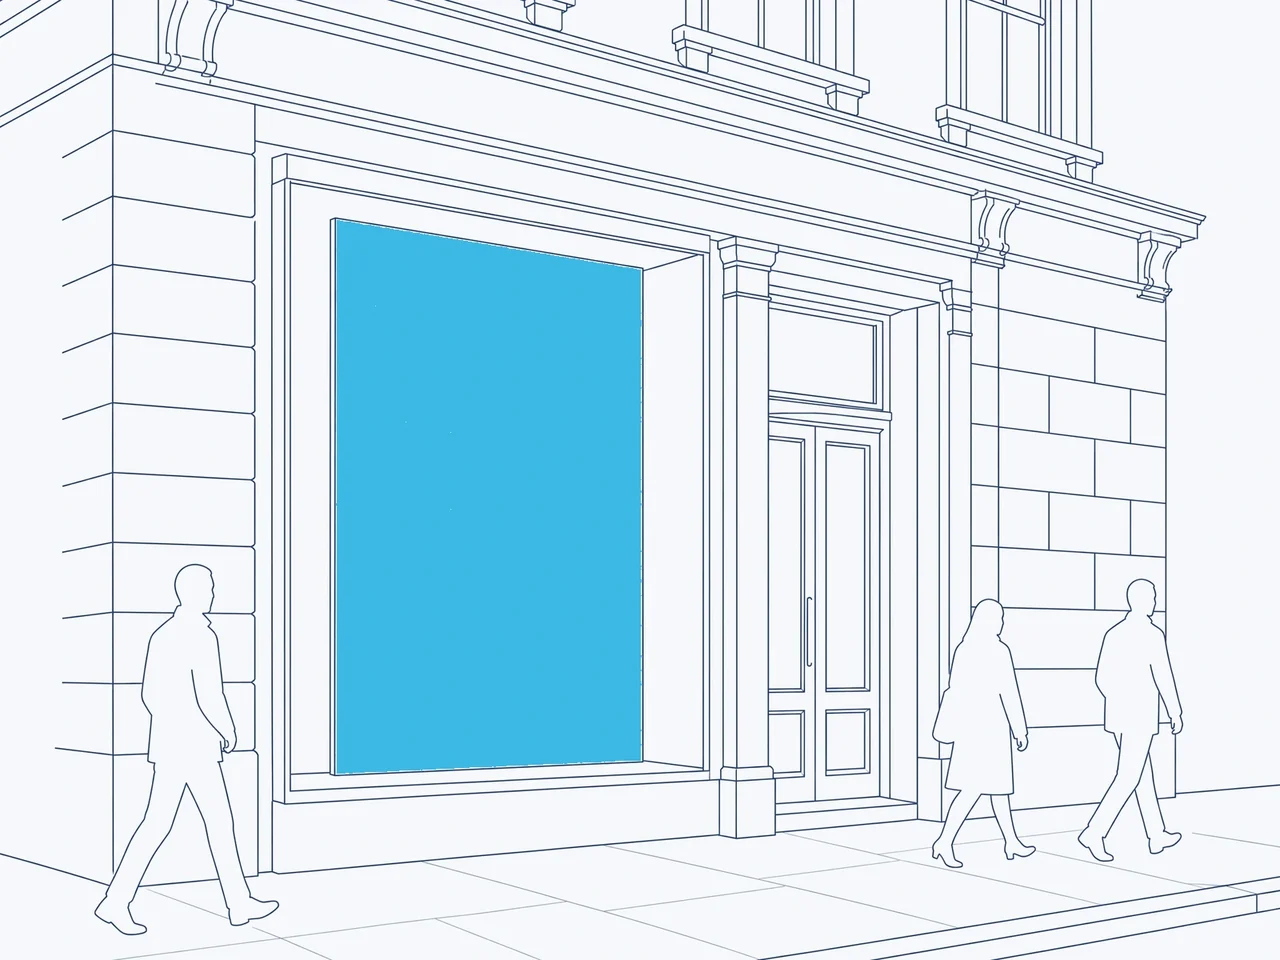
Usually, yes. For a fixed screen on a façade or a mast, the rules depend on the commune and the canton, and some limit brightness or content at night. Check with your commune before the project: the offer is built on the screen you are allowed to install.

What is warranted after the installation?

Under our terms of sale: the quality of our work for 90 days, the hardware for 24 months against manufacturing defects, and the software for 12 months to perform as documented. Claims are made in writing, with proof of purchase and a detailed description.

Digital Signage installation in Switzerland and Europe

Let’s talk about your site

Send us the plans, or describe the place. We visit the site if necessary, and we come back with a written offer.

  1. The place. Indoors or outdoors: the wall, the ceiling, the window or the floor.
  2. The plans. Drawings, a sketch or the dimensions.
  3. The dates, and the works around them: a fit-out, an opening.
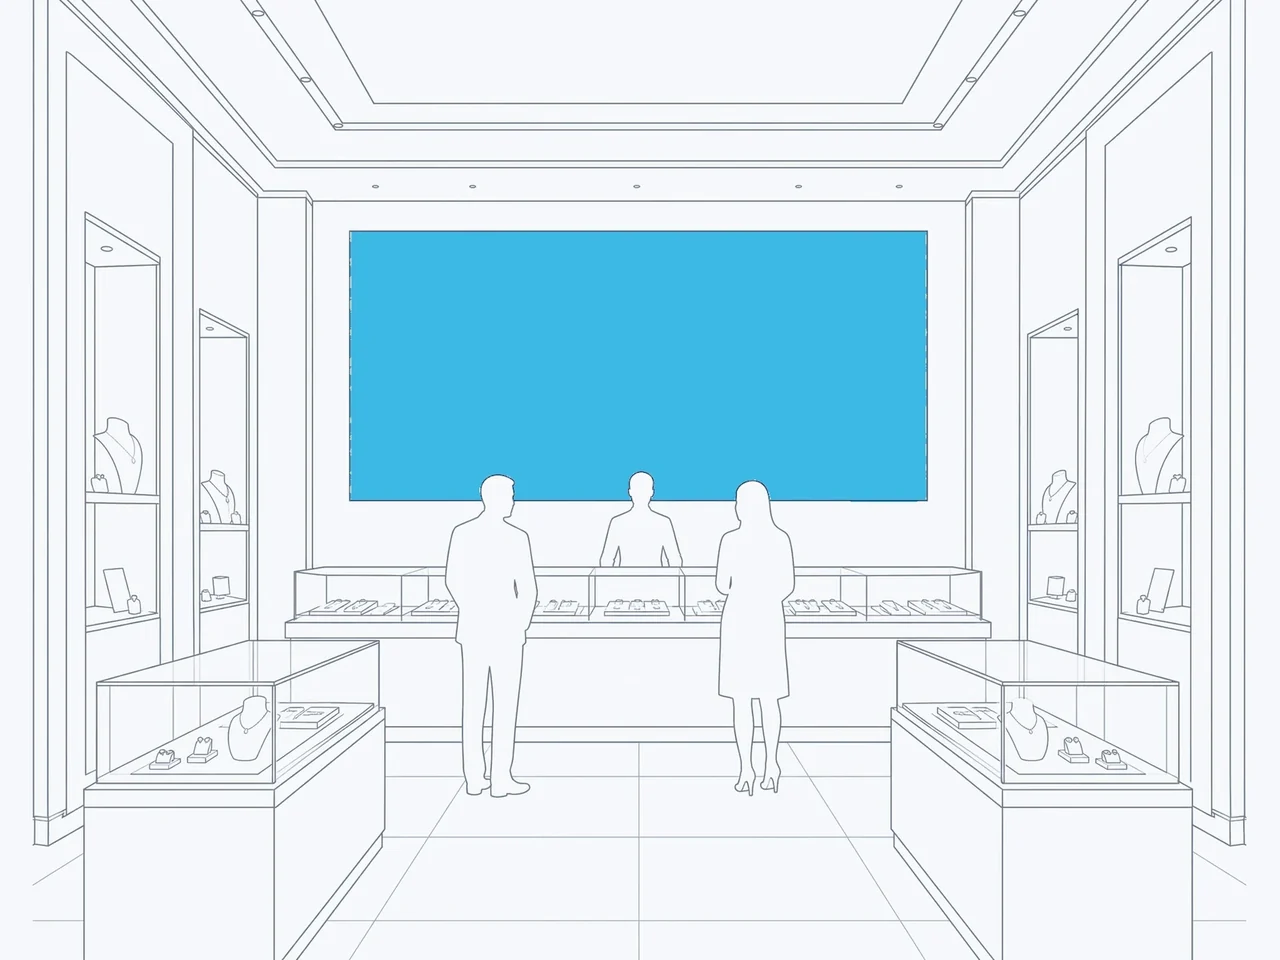
Indoor LED screen flush in the wall of a jewellery boutique, a smaller screen built into a display cabinet
An LED screen flush in the wall of a boutique, a smaller one built into the cabinet.